







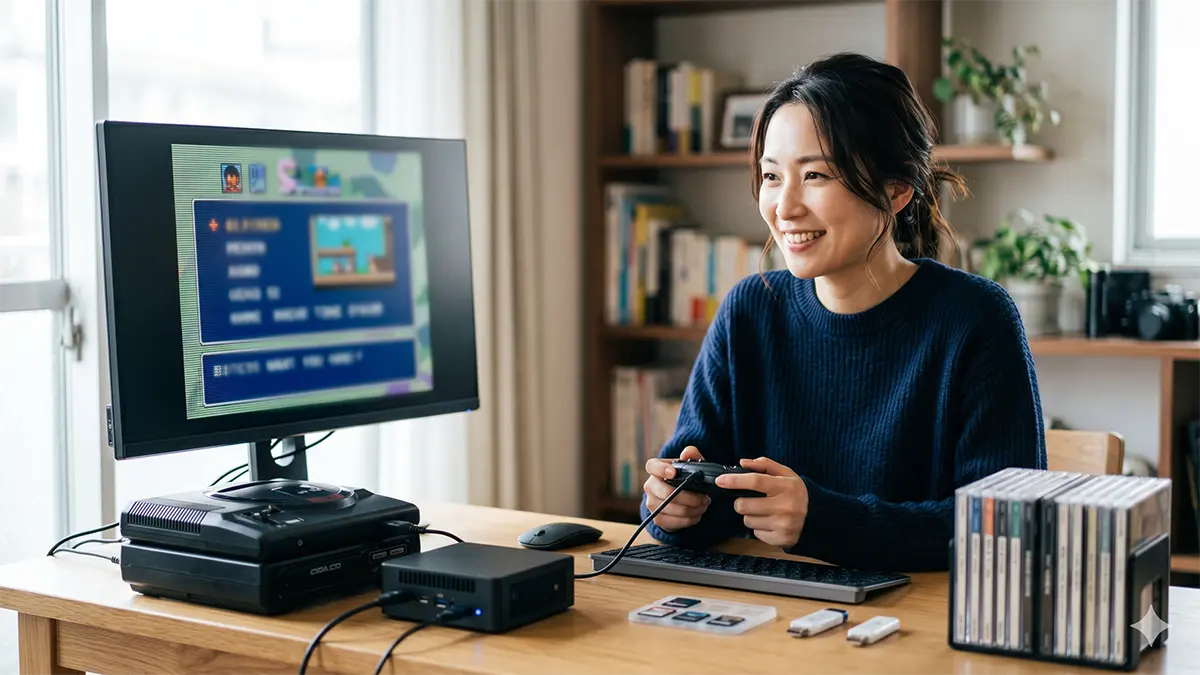
If you are trying to get a Sega CD or Mega-CD game running in RetroArch and all you get is a black screen, a logo that never resolves, or a core that refuses to load anything, the cause is almost always one of three small things: where RetroArch is looking for its system folder, what your BIOS files are named, and which file you are actually loading. None of them are difficult — they are just invisible until you know where to look.
One naming point first, because it changes what you type into a search box as much as what you type into a folder. Sega CD is the North American name for the CD add-on; Mega-CD is the name used in Europe and Japan. Same hardware, different marketing. Most English-language guides use one name and never mention the other, which is why half the advice you find seems to be missing. Both names appear throughout this guide, and since the BIOS files are region-specific you will need to know which one your disc belongs to.
This guide assumes you own the hardware and the discs, and that any BIOS image came off your own console. There is a section further down on what that means legally, and on why this article points you at no download.
- Why Sega CD and Mega-CD are harder to set up than cartridges
- Pick your core first: Genesis Plus GX or PicoDrive
- The RetroArch system folder is not in the same place on every install
- The BIOS files: names, regions, and getting the case right
- The two cores do not document the same US checksum
- Four steps from files on disk to a game that boots
- Getting the BIOS from hardware you own
- Copyright, dumping, and why this guide points at nothing
- When the screen stays black: work down this list in order
- Once it boots: latency and audio settings worth touching
- A short check log worth keeping
- The short version
Why Sega CD and Mega-CD are harder to set up than cartridges
A cartridge dump is self-contained: point the core at the file and it runs. The CD add-on is different, because the machine has a boot ROM of its own on the CD unit and the core cannot invent it. A CD game is also not one file — a disc image is usually a cue sheet plus data and audio tracks — so handing the core the wrong member of that set gives you a boot that half works: the game runs but the music is gone, or disc two never appears. And underneath both sits a third problem: the system folder is not in the same place on every RetroArch install.
Pick your core first: Genesis Plus GX or PicoDrive
RetroArch does not emulate anything by itself; it loads cores, and for Sega CD and Mega-CD there are two you will realistically use. Choose before you copy any files, because the core determines which documentation you check them against.
| Consideration | Genesis Plus GX | PicoDrive |
|---|---|---|
| General position | Default choice for most desktop and mid-range handheld setups | The lighter option, for hardware with less headroom |
| When to reach for it | Windows, Linux or a reasonably capable Android device | Low-power handhelds and older single-board devices where the other core struggles |
| Documented checksums | See the reference table below | Differs from Genesis Plus GX for the US file — see below |
Start with Genesis Plus GX. If your device drops audio or refuses to hold full speed, switch to PicoDrive and re-check the BIOS status inside that core rather than assuming the setup carried over. On most setups the same files serve both cores, but each core reports a problem differently.
The RetroArch system folder is not in the same place on every install
Read this before copying anything anywhere. RetroArch is distributed in several different ways on the same operating system, and the folder layout follows the distribution method rather than the OS — which is why two people on Windows 11 can both be right and still disagree about where the BIOS goes.
Windows: installed build versus portable build
The standard installer and the portable ZIP behave differently. A portable build generally keeps everything under the folder you unpacked it into, so the system directory tends to sit next to the executable. An installed build generally writes user data into your Windows user profile instead, under the application data area, leaving the program folder holding only the program. If you unpacked a portable copy and later installed one as well, you have two configurations on one machine, and files placed in one are invisible to the other.
The Steam release
The Steam version lives under whichever Steam library folder you chose at install time, and that library is often not on the C: drive. It is also the build most likely to be updated underneath you, so treat the path shown inside the running application as authoritative.
Linux, and Flatpak in particular
A distribution package and a Flatpak do not store user data in the same place. A native package generally follows the usual per-user configuration convention in your home directory. A Flatpak is sandboxed, and its data generally ends up under the per-application area Flatpak maintains for each installed application — a deeper path than most people expect, and easy to confuse with the non-sandboxed one. If you installed RetroArch twice by two different methods while troubleshooting, this is very often where the missing BIOS went.
Android and scoped storage
Android has tightened what applications may read outside their own storage area over successive versions, so RetroArch there generally works within an application-specific directory. Files dropped into a general Downloads folder are not necessarily reachable, and a file manager showing you the file is not proof the core can open it. Use RetroArch’s own file browser to confirm the system directory it reports really contains your files.
The rule that replaces all of the above
Do not copy a path out of a guide, video description or forum reply. Open RetroArch and read the path it gives you:
- Settings, then Directory, then the entry labeled System/BIOS.
- Whatever is written there is the correct answer for your machine, even if it looks nothing like the path in any tutorial you have read.
- If it shows a relative default rather than a full path, browse to it from inside RetroArch so the application resolves it for you.
- Put your files there, then confirm from inside the core rather than from your file manager.
Everything else here assumes you have done that. Skip it and you can perform every remaining step perfectly and still see a black screen.
The BIOS files: names, regions, and getting the case right
Genesis Plus GX looks for its Sega CD and Mega-CD boot files in RetroArch’s system directory under fixed names. There are three, one per region, and the file’s region has to match the disc you are running.
| Region | Filename | MD5 as listed in the Genesis Plus GX documentation |
|---|---|---|
| Europe (Mega-CD) | bios_CD_E.bin | e66fa1dc5820d254611fdcdba0662372 |
| North America (Sega CD) | bios_CD_U.bin | 854b9150240a198070150e4566ae1290 |
| Japan (Mega-CD) | bios_CD_J.bin | 278a9397d192149e84e820ac621a8edd |
Those values come from the core documentation at docs.libretro.com. Two practical points about the names:
- Capitalization matters. The uppercase letters in the middle and the lowercase prefix are part of the name. Windows usually forgives you; Linux and Android will not, and bios_cd_u.bin simply will not be found.
- Watch for a hidden double extension. If your system hides known file types, a file displaying as bios_CD_U.bin may really be bios_CD_U.bin.bin. Turn extension display on before concluding the name is right.
If you own discs from more than one region, put all three files in place: a region mismatch produces exactly the same black screen as a missing file.
The two cores do not document the same US checksum
Worth knowing before you spend an evening convinced your dump is corrupt. The filenames are the same for both cores, but the checksums printed in their documentation at docs.libretro.com are not identical across the board.
| Filename | MD5 in the Genesis Plus GX documentation | MD5 in the PicoDrive documentation |
|---|---|---|
| bios_CD_E.bin | e66fa1dc5820d254611fdcdba0662372 | e66fa1dc5820d254611fdcdba0662372 (same) |
| bios_CD_J.bin | 278a9397d192149e84e820ac621a8edd | 278a9397d192149e84e820ac621a8edd (same) |
| bios_CD_U.bin | 854b9150240a198070150e4566ae1290 | 2efd74e3232ff260e371b99f84024f7f (different) |
The European and Japanese entries agree; the North American entry does not. This guide states only what the documentation states and deliberately offers no explanation, because the documentation itself provides none.
The working conclusion: if your own dump does not match one of these values, that alone does not prove the file is broken. Compare checksums against the documentation for the core you are currently running. Checking a file against the other core’s table and declaring it bad is a common dead end.
Four steps from files on disk to a game that boots
Step 1: Confirm the system directory from inside RetroArch
Settings, Directory, System/BIOS. Read the path there and use it. Covered above, and it is the step people skip.
Step 2: Place the BIOS files and match the names exactly
Copy the region files directly into the system directory itself, not a subfolder you created for tidiness. Match the filenames character for character, including case, with file extensions visible so you can see what the name really is.
Step 3: Load the right file for the game
For a single-disc game, load the .cue, not the raw data track. For two or more discs, build an .m3u and load that from the start. An .m3u is an ordinary text file in the same folder as the discs, listing one cue sheet per line:
GameTitle (Disc 1).cue
GameTitle (Disc 2).cue
Booting from an .m3u is what makes disc swapping behave properly through Disk Control in the Quick Menu, so do it before you reach the point where the swap is demanded rather than after. One related note: many Sega CD and Mega-CD titles carry CD audio tracks, so a data-track-only .iso can boot into a game with no music at all. If the game runs but sounds oddly silent, suspect that first.
Step 4: Verify from inside the core, not from your file manager
Load the game, open the Quick Menu, then Information, then Core Information. The core lists the firmware it expects and whether each file was found. An entry that reads as missing means the core looked in its system directory and did not see a file under that exact name — a far more useful signal than a black screen, and the fastest way to tell a naming problem from a path problem.
Getting the BIOS from hardware you own
The boot ROM lives on the CD unit itself, so the copy you use has to come off your own console. This guide does not discuss obtaining it any other way.
If you already own a flash cartridge, that is the usual route. Krikzz flash cartridges in the Mega EverDrive line, including the X7 and the Pro, include a menu function that boots the attached CD unit, and the boot ROM can be written out to the SD card as part of that process. Beyond that general shape, be careful with specifics: the exact wording in the cartridge menu, the filename that gets written, and the folder it lands in all vary with the firmware version on your cartridge, so check your own device’s documentation and the menu as it appears on your screen rather than trusting a filename quoted in an article. That includes this one — the point here is the sequence, not a filename to memorise.
The sequence generally looks like this:
- Attach the CD unit and start the console with the flash cartridge inserted.
- From the cartridge menu, choose the option that boots the CD unit.
- Wait for the boot screen to actually appear rather than assuming it has.
- Give it a few more seconds before cutting power — this is where most failures happen.
- Power down, put the SD card in your computer, and see what was written.
Two failure patterns point in opposite directions. Boot screen seen but no file written: usually the power was cut too early, or the SD card itself — free space, formatting, or card compatibility. Boot screen never appeared: the problem is upstream of the cartridge entirely, in power to the CD unit and the physical connection between the units. Those are general causes; your hardware’s documentation is the authority on the rest.
If you do not own a flash cartridge, this guide has nothing to add — no alternative route is described here, deliberately.
Copyright, dumping, and why this guide points at nothing
This section is general information, not legal advice. Copyright law differs between countries and continues to be tested in the courts; nothing here is a ruling on your particular situation. If it matters to you, ask a qualified lawyer in your own jurisdiction.
The practical position this guide takes can be said plainly. Downloading a boot ROM or a game image somebody else placed online is outside the scope of everything written here, because the source of that copy is not lawful. That is why this article names no site, no search term, and no “you’ll find it easily” hint.
Beyond that, the picture is unsettled rather than simply strict. In the United States, the status of personal backup copies has never been resolved as cleanly as internet folklore suggests, and the anti-circumvention provisions of the DMCA raise a separate question about bypassing technical protection measures, distinct from copying itself. Exemptions exist in some areas; they are narrow and are revisited periodically.
This is also not a US-only readership. The United Kingdom is a useful counterexample: the private copying exception introduced there was quashed by the High Court in 2015, leaving no general personal-copy allowance of the kind many readers assume exists. Australia and Canada each have their own framework for format shifting and circumvention, lining up neither with the US position nor with each other. Do not take an American forum post as a description of your rights — or this paragraph as one either.
The one posture that travels reasonably well: use hardware and discs you own, make your own files, do not redistribute them.
When the screen stays black: work down this list in order
Resist the urge to change three things at once. The four checks below each rule out a whole category; doing them out of order is how people end up re-copying files that were never the problem.
- Core Information. Quick Menu, Information, Core Information. Does the core list the firmware as missing? If so, it is not seeing the file, and the next two checks hold the answer.
- The system directory path. Settings, Directory, System/BIOS. Is that the folder you actually copied files into? On multi-install machines the mismatch is usually here.
- The filename, character by character. Case included, extensions visible, no stray second extension, no trailing space, no renamed copy beside the original.
- What you loaded. Single-disc from its .cue, multi-disc from an .m3u. A bare .iso is a candidate for both a boot failure and a missing soundtrack.
| Symptom | First thing to check |
|---|---|
| Core Information says the file is present but the game still will not boot | Region match between disc and BIOS file, and whether you loaded the .cue |
| Game runs but there is no music | Whether you booted a data-only image instead of a cue sheet with audio tracks |
| Disc two never appears | Whether you started from an .m3u rather than a single .cue |
| Worked on your desktop, fails on your handheld or Android device | The system directory on that device, and filename case |
Once it boots: latency and audio settings worth touching
Getting a boot is the hard part; making it feel right is smaller work, best done in a fixed order so you can tell which change did what. Adjust one setting, play a few minutes, move on.
- Vsync on first. This is the baseline; leave it on unless you have a specific reason not to.
- Vsync Swap Interval at Auto or 1.
- Audio Synchronization on.
- Audio Latency lowered gradually, only as far as you can go before crackling starts. Where that limit falls depends entirely on your hardware and audio stack, so no number here would be useful to you.
- Hard GPU Sync or Frame Delay only if things still feel heavy after the above.
If your display supports variable refresh rate, G-Sync or FreeSync, look at Sync to Exact Content Rate rather than fighting the standard sync path.
Run-Ahead is a separate matter. It targets latency inside the game’s own logic rather than latency your system introduces, and it leans on save states, so how well it behaves varies by core and device. Pushing the frame count higher than necessary can make things unstable. Turn it on, see whether you feel a difference at the lowest useful setting, and stop there — recommended numbers circulated online describe somebody else’s hardware.
A short check log worth keeping
Coming back to this in six months, five saved lines spare you the whole diagnostic pass:
Core and version. System/BIOS path exactly as RetroArch reported it. Which region files are present. Whether Core Information showed them as found. Which file you launched — .cue, .m3u, or something else.
The short version
Sega CD and Mega-CD are the same hardware under two names, and discs are region-specific, so match the BIOS region to the disc. The three filenames are fixed and case-sensitive. Put them in the system directory your RetroArch reports under Settings, Directory, System/BIOS — never the one a tutorial reports, because installed, portable, Steam, Flatpak and Android builds resolve it differently. Load a .cue for one disc, an .m3u for several, and verify through Core Information.

コメント