
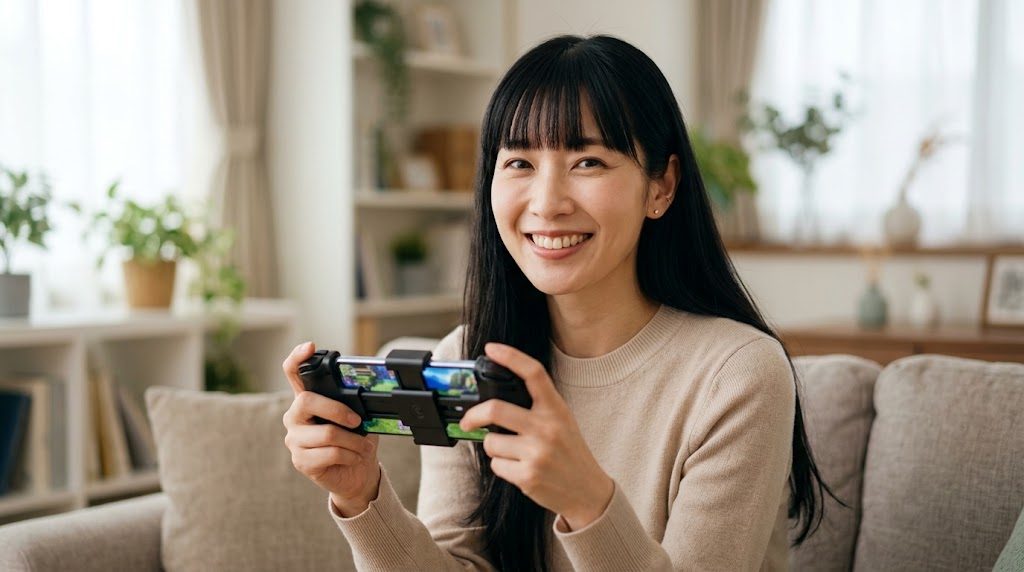
A controller can pair with Android and still do nothing in an emulator, swap A and B, drift, or become Player 2 after reconnecting. This guide goes in order: choose a connection, pair or plug in using the manufacturers’ steps, confirm Android sees the pad, map it in RetroArch, PPSSPP and Dolphin, and fix it by symptom. It is not a buying guide.
Menu paths were checked in RetroArch 1.22.2, PPSSPP 1.20.4 and Dolphin 2606 (September 2026). Later versions may move labels slightly.
- Step 1: Decide how the controller will connect
- Step 2: Pair over Bluetooth using the official steps
- Step 3: Connect over USB
- Step 4: Confirm Android actually sees the controller
- RetroArch on Android: make a controller work once and keep working
- PPSSPP, Dolphin, and why A and B feel backwards
- Fix it by symptom
- Game data, and the short version
Step 1: Decide how the controller will connect
| Connection | Typical hardware | Check first |
|---|---|---|
| USB-C into the phone | Controllers that clamp around the phone; pads on a cable | USB host support, OTG toggle, a data-capable cable |
| Bluetooth | Xbox Wireless Controller, DualSense, DualShock 4, many third-party pads | Pairing sequence; mode selected on multi-mode pads |
| 2.4GHz USB dongle | Pads sold with a small receiver | Whether the maker lists Android for the dongle |
A bundled 2.4G receiver does not mean Android support. 8BitDo’s compatibility tables for the Ultimate 2 and Ultimate 2C list 2.4G for Windows and Bluetooth for Android, so check the table for your model.
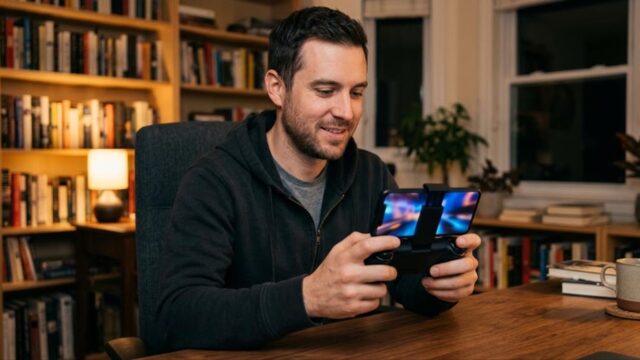
There is no neutral first-party measurement comparing Bluetooth, USB and 2.4GHz latency on Android, so this guide does not rank them. A cable removes some variables a wireless link adds, but that is not a measured result on your phone. Also, input lag and an emulator that simply runs slowly are separate problems; this guide covers the controller side. For clamp-style controllers, check the maker’s phone length and thickness limits (camera bump included) and whether your case has to come off.
Step 2: Pair over Bluetooth using the official steps
On Pixel and near-stock Android the path is Settings > Connected devices > Pair new device. Galaxy and other manufacturer skins label these menus differently. Put the controller into pairing mode first.
Xbox Wireless Controller
- Press the Xbox button to turn it on.
- Hold the Pair button for three seconds, then release.
- Go to Connected devices > Pair new device and select Xbox Wireless Controller.
- Only Bluetooth models work: the plastic around the Xbox button is part of the faceplate. Series X|S bundled controllers qualify.
- Recognition can take up to two minutes.
- If the Xbox button sends you to the Android home screen, update controller firmware to 4.8.1908 or later, from an Xbox console or the Xbox Accessories app on Windows.
- Vibration and headsets through the controller are not supported over Bluetooth.
DualSense and DualShock 4
DualSense needs Android 12 or later. Make sure the player indicator is off. While holding Create, press and hold PS until the light bar blinks. Adaptive triggers are not supported on Android; haptics, built-in mic and speaker, and the headset jack are not supported on mobile. A USB-C cable also works.
DualShock 4 needs Android 10 or later: while holding SHARE, press and hold PS until the light bar flashes. On non-Xperia devices, the touchpad, light bar color, vibration, motion sensors and headphone jack are not supported.
Switch Pro Controller and multi-mode pads
Nintendo does not advertise Android support, but Android’s kernel configuration and AOSP key layout files include the Pro Controller, so it may work depending on your phone. Multi-mode pads such as 8BitDo’s need the correct mode chosen before pairing; take the button combination from your model’s manual.
Step 3: Connect over USB
Android has supported USB host mode since 3.1, but not every device supports the USB host APIs, and Xbox Support notes that some manufacturers disable wired controllers on their mobile devices. Some brands add an OTG switch: OnePlus documents an OTG connection option that turns off after 10 minutes unused, and GameSir’s G8 Galileo FAQ tells Xiaomi, OPPO, VIVO, Realme and iQOO owners to check that OTG is enabled. Xbox One-era controllers use Micro USB; Series X|S use USB-C.
A USB-C cable that meets the Type-C specification always carries USB 2.0 data lines. If a wired pad is not detected, try another cable you know transfers data.
Step 4: Confirm Android actually sees the controller
- RetroArch’s notification. “[controller name] configured in port 1” means Android and RetroArch both see it. “Not configured” means it is detected but has no profile, so map it manually.
- A second app. Xbox Support’s logic: if it works normally in another app, the app you want may not support it.
- Game controllers settings, on some devices such as Pixel: Settings > System > Game controllers (wired) or Settings > Connected devices > [controller] > Game Controller settings (Bluetooth). You can swap any two buttons or the left and right sticks.
RetroArch on Android: make a controller work once and keep working
1. Leave Autoconfig on
Settings > Input > Autoconfig is on by default: it “Automatically configures controllers that have a profile, Plug-and-Play style.” If “configured in port 1” appears, you may be done.
2. Map manually when there is no profile
Open Settings > Input > RetroPad Binds > Port 1 Controls. Confirm Device Index points to the pad in your hands, then use Set All Controls to press each button in turn (Reset to Default Controls undoes mistakes). Analog to Digital Type defaults to None; change it if you want the stick to act as a d-pad. Per-core layouts live under Quick Menu > Controls.
3. Save a controller profile
Save Controller Profile saves “an autoconfiguration file that will be applied automatically whenever this controller is detected again.” This is what makes the setup stick.
4. Choose a menu combination
On Android, Settings > Input > Hotkeys > Menu Toggle (Controller Combo) defaults to None, so Start + Select does not open the menu out of the box. Options include L3 + R3, Start + Select, L1 + R1 + Start + Select, Hold Start (2 seconds), Down + Select and L2 + R2. Pick one your games do not use.
5. Stop stick drift
Settings > Input > Analog Deadzone defaults to 0.0. If a character creeps with the stick untouched, raise it gradually until it stops.
6. Handle reconnects
Android gives each controller an integer device ID that can change on reconnect. If a pad that was Player 1 now acts as Player 2, check this first.
| Situation | Setting (under Settings > Input) |
|---|---|
| Pad controls Player 2 or nothing after reconnecting | RetroPad Binds > Port 1 Controls > Device Index |
| Game should pause when the pad drops | Pause Content When Controller Disconnects |
| Pad disconnects and reconnects in a loop | Android disconnect workaround (off by default) |
The workaround “Impedes 2 players with the identical controllers,” so leave it off for two-player setups with the same model.
PPSSPP, Dolphin, and why A and B feel backwards
PPSSPP
Go to Settings > Controls > Control mapping. With a detected pad and no built-in controller on the device, Auto configure appears; otherwise map by hand (Restore defaults and Clear all are there too). Under Settings > Controls > Calibrate analog stick, release the stick and watch the Raw input view to see whether it returns to center. If not, raise Deadzone radius (default 0.15).
Dolphin
Go to Settings > GameCube Input > GameCube Controller 1, choose Standard Controller, and set Device before anything else, or Dolphin warns “You need to select a device first.” Then tap each entry and press the input to bind. Wii controls are under Wii Input > Wii Remote 1 to 4.
A/B by position
Android’s documentation says “KEYCODE_BUTTON_A is always the south most button even if it’s labelled “B”.” On Nintendo-layout pads, the button printed B is BUTTON_A. Map by position; if confirm and cancel feel reversed, swap them in the emulator or with Android’s button swap where available.
Fix it by symptom
| Symptom | Likely layer | First thing to try |
|---|---|---|
| Will not pair | Controller | Forget it in Bluetooth settings, re-enter pairing mode, recheck mode; give Xbox pads two minutes |
| Keeps dropping | Wireless environment | Move closer; reduce interference from other Bluetooth devices and 2.4GHz-band devices such as routers and microwaves |
| Wired pad never detected | Phone or cable | OTG toggle, a known data cable, another phone |
| Works elsewhere, not here | App | That app’s mapping screen |
| Cannot open RetroArch menu | RetroArch | Menu Toggle (Controller Combo) |
| Confirm and cancel reversed | Layout | Map by position |
| Stick drifts | Stick | Analog Deadzone or Deadzone radius |
| Became Player 2 | Android device ID | Device Index |
On drift: we could not find an official way to recalibrate Xbox or DualSense sticks on Android, so the emulator deadzone is the dependable workaround. Hall effect sticks detect magnetic field changes without contact, and makers such as GameSir say they resist wear; treat that as the manufacturer’s claim. 8BitDo Ultimate Software has an Android version per the Pro 2’s official page, with remapping and stick and trigger sensitivity.
Game data, and the short version
This guide assumes you use data dumped yourself from games and hardware you legally own. Downloading games you do not own is not covered by that, and personal backup rules vary by country and remain unsettled in places including the United States. This is general information, not legal advice.
In short: confirm your connection works on Android, pair with the official steps, check for “configured in port”, map by position, save a profile, set a menu combination, and handle drift with a deadzone.
コメント