








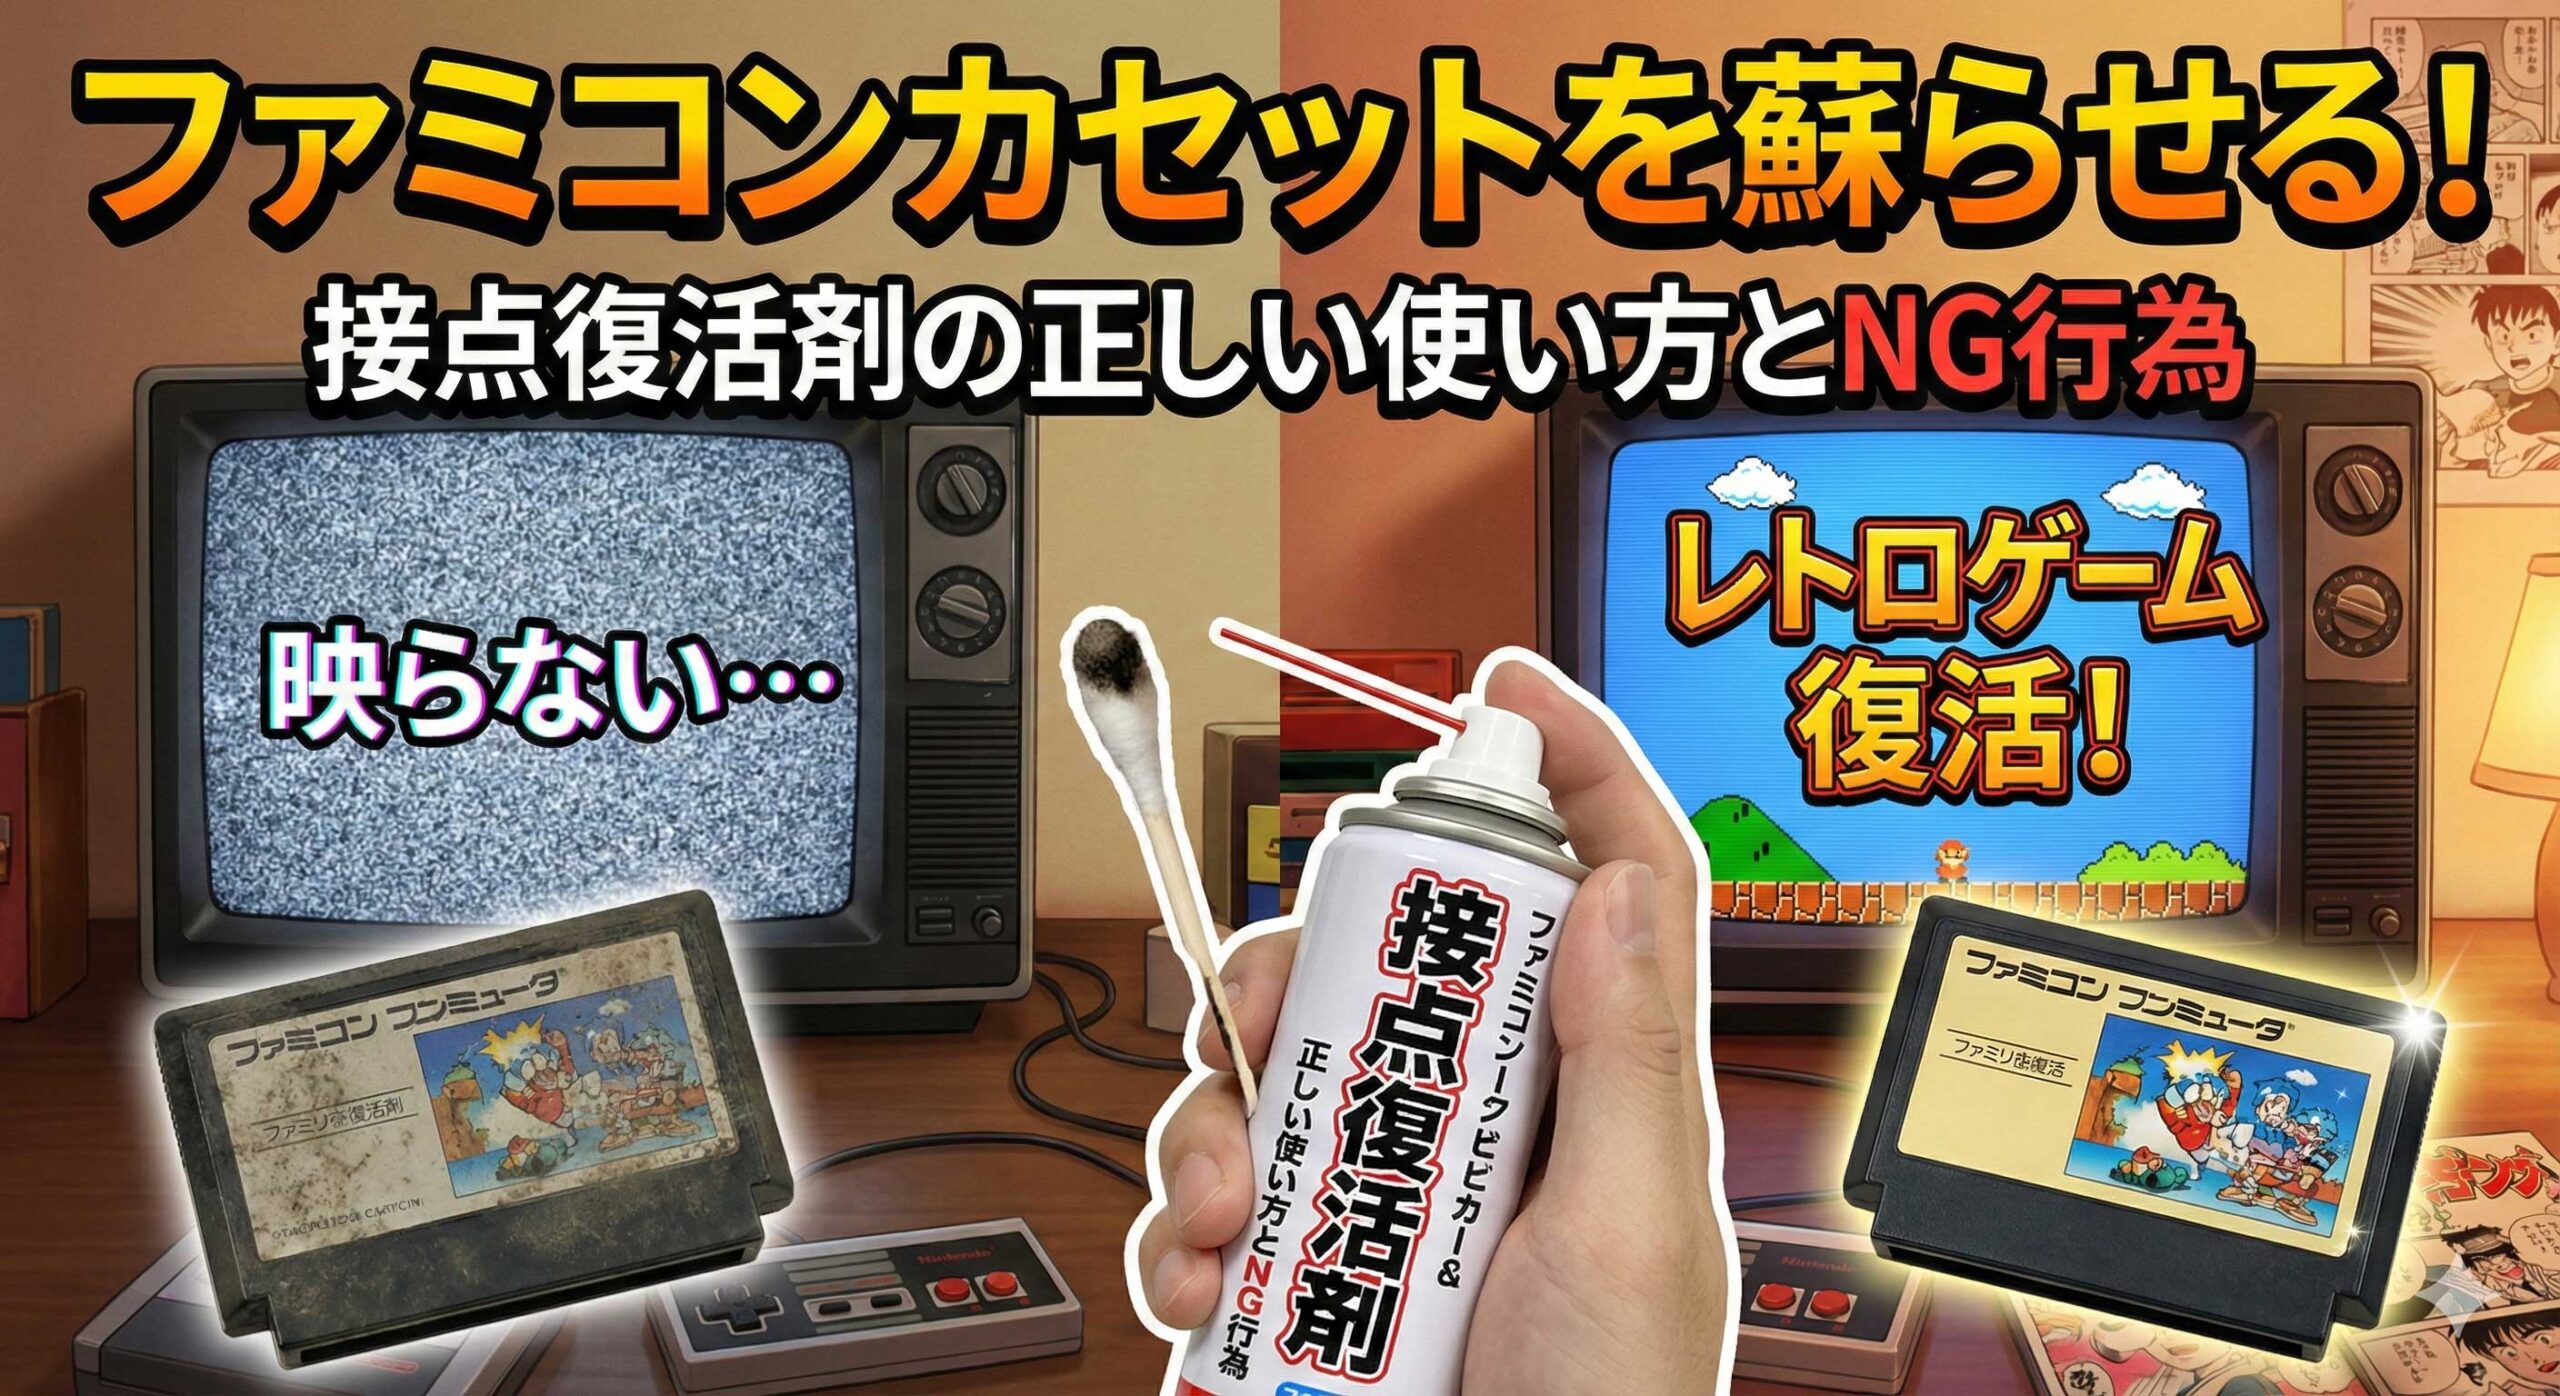
A cartridge that boots to a black screen, a blinking red light, or garbled graphics is almost never dead silicon. In most cases the problem is a film of oxide, skin oil, and dust between the cartridge’s edge connector and the console’s pins: thin enough to be invisible, thick enough to break the connection.
Below is the procedure the repair community actually uses, the difference between a contact cleaner and a contact enhancer, and the one hardware fault no amount of cartridge cleaning will fix.
- Start here: match the symptom to the fix
- Why cartridge contacts stop conducting
- Contact cleaner and contact enhancer are not the same product
- Three mistakes that make things worse
- The three-step cartridge cleaning procedure
- The NES 72-pin connector: when cleaning games will never be enough
- SNES, N64 and Genesis age better, and here is why
- Consoles, controllers, and everything else
- Safety, and what this guide is not
- Frequently asked questions
- If cleaning did not fix it
- The short version
Start here: match the symptom to the fix
| What you see | Most likely cause | First thing to try |
|---|---|---|
| Works only after several reseats | Light oxide on the cartridge edge | Clean the contacts (Steps 1 to 3) |
| Garbled sprites, wrong colors | Partial contact on some data lines | Clean the cartridge, then the slot |
| NES front-loader: every game blinks | Worn 72-pin connector | Re-tension or replace the connector |
| Controller buttons need a hard press | Worn or dirty carbon pads | Alcohol only, no enhancer |
| No LED, no video at all | Power supply, capacitors, board damage | Cleaning will not help; diagnose the console |
Why cartridge contacts stop conducting
Cartridge edge connectors are copper traces under a thin, inconsistent plating, and copper does not stay bare. After three or four decades in an attic, basement, or garage, three things build up:
- Oxidation. Exposed copper reacts with oxygen to form an oxide film that conducts poorly.
- Sulfidation. Trace sulfur compounds in ordinary indoor air tarnish copper and silver, showing up as the grey or brown band on the contacts.
- Organic film. Skin oil, dust, nicotine, and cooking residue combine into a sticky layer that traps everything else.
None of it needs to be thick. A connector relies on metal-to-metal contact under spring pressure, and an insulating film measured in fractions of a micron will drop a data line and scramble the picture.
Contact cleaner and contact enhancer are not the same product
| Product type | What it does | What it leaves behind | Role in the job |
|---|---|---|---|
| Contact cleaner (electronics grade) | Dissolves oil and residue | Nothing; it flashes off | Wash and degrease |
| Contact enhancer (DeoxIT D-series and similar) | Dissolves contamination, reduces oxide | A thin conditioning film | Deoxidize and protect |
| Plated-contact conditioner (DeoxIT Gold, G-series) | Conditions a clean surface | A protective barrier film | Maintenance coat on plated contacts |
| General-purpose penetrating spray (WD-40 Multi-Use and similar) | Displaces water, frees fasteners | An oil film | Not designed for contacts |
The distinction that matters: a cleaner evaporates, an enhancer deliberately leaves residue. That residue seals freshly cleaned copper from air and slows re-oxidation, but it also attracts dust, so it goes on as a thin film with the excess wiped away. Applying an enhancer to a dirty contact just glues the dirt in place, which is why cleaning comes first.
For the alcohol step use 99% isopropyl alcohol (IPA), not 70% rubbing alcohol from the medicine cabinet. That product is roughly a third water, and water on an edge connector is exactly what you are trying to avoid. 91% works in a pinch; 99% is what the repair community standardizes on and it is cheap.
Three mistakes that make things worse
Mistake 1: Blowing into the cartridge
Everyone who owned an NES did this, and it is worth being honest about why it seemed to work. Blowing on a cartridge requires pulling it out and pushing it back in, and reseating the cartridge is what actually restored the connection. The blowing was ritual attached to a real fix.
The problem is that breath is warm, humid, and carries saliva, so you deposit moisture and organic material onto bare copper and then seal it inside a connector. Nintendo’s guidance at the time advised against it, and decades of tarnished contacts have borne that out. If a cartridge needs reseating, reseat it. Do not add moisture.
Mistake 2: Reaching for WD-40 or another general-purpose spray
The blue and yellow can is in every garage in the country and it is good at what it was designed for: displacing water and freeing stuck hardware. It is not a contact treatment.
Two concrete reasons to keep it away from connectors. First, it leaves a persistent oil film, and oil on an edge connector binds dust into a paste, so a contact that works on day one degrades over the following months. Second, plastic compatibility varies: the manufacturer’s own guidance is that the Multi-Use Product suits most plastics but should not be used on polycarbonate or clear polystyrene. Cartridge shells are rarely marked, so you would be guessing. The principle needs no product-bashing: use something engineered for electrical contacts, because a penetrating oil is not.
Mistake 3: Flooding the board with aggressive parts cleaner
Automotive brake and carburetor cleaners strip everything, including things you need. They can attack plastics, dissolve label adhesive, and pool under chips where they never fully dry. Many cartridge boards also carry an epoxy blob over a bare die, and a chemical soak is a bad idea near it.
Work targeted instead: swabs and 99% IPA only where needed, then dry fully. Abrasives such as scouring cream or a pencil eraser are a last resort, because they remove plating rather than contamination.
The three-step cartridge cleaning procedure
Order matters. Out of sequence, you push grit deeper into the connector.
Step 1: Remove loose dust dry
Before any liquid touches the cartridge, get the dry debris out: a soft brush along the contact rows, then short bursts of compressed air held upright and a few inches back. Do not tip the can while spraying, because tilting can eject liquid propellant, which is intensely cold and causes frostbite on skin and thermal shock on components.
Skipping this is the classic error. Wet dust becomes mud, and the swab carries mud straight into the connector body.
Step 2: Clean with 99% IPA and a swab
Dampen a swab with 99% IPA. Damp, not dripping. Wipe each side of the contact strip along the direction of the traces, switching to a fresh swab face as soon as the tip picks up grey or brown residue. A badly tarnished cartridge can consume six or eight swabs, and seeing the discoloration transfer confirms you are removing something real.
Precision swabs with tight, lint-free tips are worth the small premium over cosmetic cotton buds, which shed fibers into the connector gap.
Step 3: Apply a thin finishing film of contact enhancer
This is the finish, not the cleaning. Never spray directly into a cartridge or a console slot. Spray a small amount onto a clean swab, or use a needle-applicator bottle, wipe a thin film along the contacts, then take the excess back off with a dry swab. You want a film you can barely see.
The DeoxIT D-series is the North American default here, sold through Amazon, distributors including Digi-Key and Mouser, and most guitar and audio shops. The D-series is the deoxidizing formulation; the Gold G-series is a conditioner for surfaces that are already clean, and some people follow one with the other on plated contacts. Budget-wise, a pint of 99% IPA is a few dollars and a small aerosol of a name-brand contact enhancer usually lands in the fifteen to twenty-five dollar range (approximate, as of September 2026). Do not insert the cartridge until it is dry to the touch.
The NES 72-pin connector: when cleaning games will never be enough
If you own a front-loading NES-001 and every cartridge blinks, stop cleaning cartridges. The console is the problem.
Why the front-loader specifically fails
The NES front-loading mechanism takes the cartridge in horizontally and then presses it down flat. That compresses the spring contacts inside the 72-pin connector on every load, and over thousands of cycles the pins lose tension permanently. Weak pins cannot hold pressure on the cartridge edge, the console’s lockout circuit fails to authenticate, and the system enters a reset loop. That is the blinking red light. The top-loading NES-101 does not have this failure mode.
How to tell it is the connector, not the cartridge
- Multiple different cartridges, including ones you have just cleaned, all blink.
- The game only runs if you wedge the cartridge at an angle or weigh it down.
- A cartridge that fails in your NES works normally in someone else’s console.
Your two options
Re-tension the original connector. Remove it and carefully bend each pin back toward its original angle. This keeps the original Nintendo part, which tends to have better tolerances than cheap aftermarket ones, and costs nothing but time. It is fiddly and it is possible to snap a pin.
Fit a replacement 72-pin connector. These are widely available and the swap is a well-documented job needing a Phillips screwdriver and, on some units, a 4.5mm security bit for the shell. The known complaint with aftermarket connectors is the opposite failure: pins that grip so tightly cartridges are hard to remove. Quality varies a lot by seller, so buy from a vendor with retro-specific reviews rather than the cheapest listing. Opening a console voids any remaining warranty and is at your own risk; unplug it first.
SNES, N64 and Genesis age better, and here is why
Later cartridges give less trouble for mechanical reasons. The SNES, N64 and Genesis all use a top-loading slot with straight vertical insertion and a recessed connector, so the cartridge edge sits deeper inside the shell, away from fingers and dust, and the slot contacts wipe against it on insertion rather than being compressed and released.
They still oxidize, and the same three steps apply. But if one SNES cartridge misbehaves while the rest of your library is fine, the cartridge is almost always the issue. On an NES front-loader, assume the opposite.
Consoles, controllers, and everything else
Cartridge slots
You cannot reach into a slot with a swab without risking bent pins. The community workaround is a sacrificial cartridge: take a common, low-value game, clean its contacts, apply a light film of contact enhancer to the edge, and insert and remove it eight or ten times. The film transfers to the slot pins and lifts contamination out. Wipe the cartridge between passes and watch what comes off.
Controller buttons and carbon pads: alcohol only
The black pads under a controller’s rubber membrane are carbon-loaded conductive material, not metal. Do not apply contact enhancer or any oil-bearing product to them. The residue that helps a metal connector hurts here: it sits on the carbon surface, interferes with conduction, and can degrade the rubber.
Clean the membrane and the board traces with 99% IPA and nothing else, then dry both fully before reassembly. If buttons still need a hard press afterwards, the pads are physically worn through, and the fix is a replacement membrane or conductive repair paint rather than a chemical.
Headphone jacks, USB-C ports, and remotes
A crackling headphone jack usually responds to a pipe cleaner with 99% IPA. A USB-C port that only charges at certain angles is normally packed with lint, which is a job for a dry plastic pick and compressed air, not liquid. Disconnect power before putting anything conductive or wet into a port.
Safety, and what this guide is not
- Isopropyl alcohol is flammable. No open flames, no soldering iron in use, no smoking. Keep the container closed.
- Ventilate. Aerosol cleaners and enhancers produce vapors that should not be inhaled in a closed room. Read the product’s safety data sheet.
- Watch static. These boards are static sensitive. Ground yourself before handling them, ideally with an ESD wrist strap.
- Disassembly is at your own risk and may void any warranty still applying to the hardware.
- Test chemical compatibility on a junk shell rather than on a rare cartridge.
This is general information, not legal or professional repair advice. If a console shows visible corrosion, leaking capacitors, or heat damage, take it to someone qualified rather than experimenting.
Frequently asked questions
| Question | Answer |
|---|---|
| How long do I let it dry? | 99% IPA flashes off in under a minute; give it five. Wipe down an enhancer film and leave it ten. |
| Do I really have to wipe off the excess? | Yes. Excess film collects dust and brings the fault back within months. |
| Can I use 70% rubbing alcohol? | Not recommended. Roughly 30% water, slow to dry, can leave mineral residue. |
| Does contact enhancer expire? | Aerosols lose propellant pressure over years and liquids thicken. Check the stated shelf life. |
| How often should I redo this? | A properly finished contact holds for years. Failure within months means too much residue, or the slot is the real problem. |
If cleaning did not fix it
If the contacts are bright and the cartridge still fails in a console that runs other games, the fault is elsewhere. Usual suspects, in rough order of likelihood:
- Battery leakage. Save-battery cartridges leak, and the electrolyte corrodes nearby traces. Look for green or white crust around the cell.
- Cracked solder joints or lifted traces from a drop, often visible under magnification.
- Failed ROM or mapper chip. Uncommon, and terminal without a board swap.
- Console-side faults. Aging power supply, failing capacitors, worn slot. If several unrelated cartridges misbehave, suspect the console.
The short version
- Dry dust first, then 99% IPA on a swab, then a thin film of contact enhancer wiped down. Never reverse that order.
- A cleaner evaporates; an enhancer leaves a protective film. You need both, in sequence.
- Never blow into a cartridge, never put general-purpose penetrating spray on contacts, never soak a board in aggressive solvent.
- Carbon pads in controllers get alcohol only.
- If every game blinks on a front-loading NES, the 72-pin connector is worn.
Most cartridges written off as dead are perfectly functional under forty years of tarnish. Twenty minutes and a few dollars of consumables recovers the majority of them.
コメント