




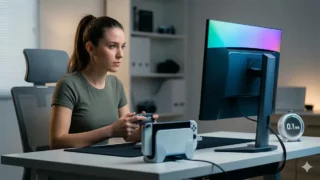




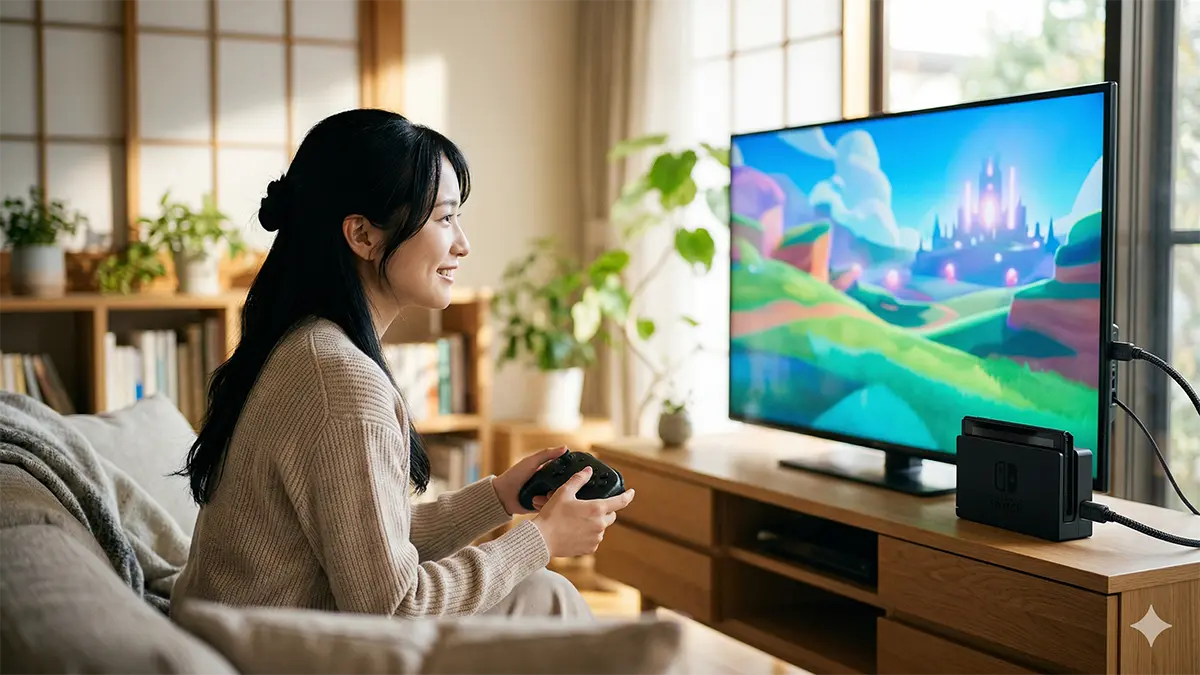
Short answer: the Nintendo Switch 2 can output up to 4K at 60fps, but only in TV mode (docked). If you are stuck at 1080p or the 4K option is missing, check four things in this order: (1) the basic requirements, (2) the console’s output setting, (3) your TV’s HDMI input setting, and (4) the cable and anything sitting between the dock and the TV. That sequence fixes the large majority of cases.
A few facts first, because they cause most of the confusion. 4K output is capped at 60fps. The game itself also has to support 4K. If either of those is missing, no amount of cable swapping will help, so it is worth ruling them out before you touch anything else.
I have rebuilt my own TV and monitor setup more times than I can count, from retro consoles to current hardware, and I still managed to play Switch 2 for almost a month without actually getting 4K. The fix turned out to be one setting on the TV. This guide lists the checks in the order that isolates the problem fastest.
- The checklist (in this order)
- Quick reference: what is happening and what to do
- Requirements: why your Switch 2 isn’t in 4K yet
- Can’t select 4K on Switch 2? Check the console first
- How to switch your TV’s HDMI input to enhanced mode
- Fixing bottlenecks from old HDMI cables and switches
- Recommended upgrades for a better Switch 2 setup
- FAQ
- Summary: requirements, TV settings and connections decide whether you get 4K
The checklist (in this order)
- Requirements: docked in TV mode, the game supports 4K, and you are expecting 60fps (not 120fps) at 4K.
- Switch 2 output setting: TV Resolution set to Automatic or 4K.
- TV HDMI input setting: the input switched to its enhanced / high-bandwidth mode.
- HDMI port: plugged into a port that actually supports 4K/60 (many TVs have ports with different capabilities).
- Cable and in-between devices: a certified cable, and a direct dock-to-TV connection to rule out switches, AV receivers and soundbars.
Quick reference: what is happening and what to do
| Your situation | What to do | Section |
|---|---|---|
| You just want to know the Switch 2’s 4K specs | TV mode only, 4K is capped at 60fps, and the game must support it | Requirements |
| It simply won’t go 4K and you don’t know why | Work through the four checks in order | Requirements |
| 4K is missing or greyed out in settings | Check the console output setting, then do a full power reset | Console settings |
| You picked 4K but nothing changes, or the screen blacks out briefly | Switch the TV’s HDMI input to its enhanced mode | TV settings |
| Only one HDMI port gives you trouble | Move to a port labelled for 4K/60 | TV settings |
| A switch, AV receiver or soundbar is in the chain | Remove everything and connect the dock straight to the TV | Cables and in-between devices |
| You want to fix it for good by upgrading | A certified cable or a dedicated 4K monitor | Recommended upgrades |
If you have been through every setting and 4K still won’t appear, the most likely limit is the TV or monitor itself, or the input you are using on it. When you are shopping for a display, confirm it accepts 4K at 60Hz over HDMI on the port you plan to use, not just “4K” on the box.
Requirements: why your Switch 2 isn’t in 4K yet
4K output only works when two conditions are met at the same time: the console is docked in TV mode, and the game you are playing supports 4K. Confirm both before moving on.
Is the console docked (TV mode)?
4K is a TV-mode feature. Handheld mode and tabletop mode use the built-in screen, so start by seating the Switch 2 in the dock with the dock connected to your TV over HDMI, and check from there.
Does the game (or its current mode) support 4K?
Even on a 4K TV, a game that doesn’t render or output 4K will stay at 1080p. Some games also have their own options, such as a quality/performance mode or a resolution setting. If yours does, check it, because a performance mode may trade resolution for frame rate.
For what it’s worth, my own mistake was not on the console at all. I had never changed the HDMI setting on the TV, and it took me close to a month to notice I wasn’t getting a 4K picture. If your requirements check out, the TV is the next most likely suspect.
Can’t select 4K on Switch 2? Check the console first
Make sure the Switch 2’s TV output is set to 4K or Automatic. If the change doesn’t take, a full power reset of the dock often clears it.
Is the output set to Automatic or 4K?
If the TV resolution is locked to 1080p or lower, the console will never send 4K no matter what the TV can do.
Why this happens: if the Switch 2 was previously connected to a 1080p monitor or a capture card, that setting can carry over. The console can also fail to read the display’s capability information (EDID) correctly and fall back to a lower, “safe” resolution.
How to check it:
- Open System Settings from the HOME Menu.
- Go to TV Output.
- Open TV Resolution and choose 4K (or Automatic).
- If 4K isn’t listed or is greyed out, skip ahead to the TV settings section.
Menu wording can differ slightly depending on your system version, but the setting lives under the TV output options.
Tip: try a full power reset. HDMI devices perform a “handshake” when they connect, and if that handshake goes wrong, setting changes may not stick. Unplug the dock’s power, unplug the HDMI cable, wait about 30 seconds, then reconnect both. Restart the TV as well if you can. This alone fixes a surprising number of cases.
4K doesn’t show up in the resolution list, or it’s greyed out
When 4K isn’t offered at all, the cause is far more often “the TV isn’t being recognized as a 4K input” than a faulty console. Check the TV’s HDMI input settings in the next section first.
The reason is EDID. The Switch 2 reads the capability information sent back by whatever it is connected to, and it narrows the resolution list to match. If the TV, or a switch or receiver in between, doesn’t report 4K support, the 4K option simply never appears in the menu.
How to switch your TV’s HDMI input to enhanced mode
In a lot of cases the TV is the problem. Many TVs ship with their HDMI inputs in a standard, lower-bandwidth mode. Switching the input to its enhanced, high-bandwidth mode, and making sure you are on the right port, fixes most “can’t get 4K” reports.
Each brand names this setting differently. You will typically see words like Enhanced, Deep Color, Input Signal Plus, or a 4K/60 or HDMI 2.0/2.1 option, and it is usually set per input, so change it for the input the Switch 2 is actually using.
Setting names by TV brand
| Brand | Setting to look for | Where it usually is |
|---|---|---|
| Samsung | Input Signal Plus (older models: HDMI UHD Color) | Settings → General → External Device Manager; turn it on for the Switch 2’s input |
| LG | HDMI Ultra HD Deep Color (HDMI Deep Color on some newer models) | In the HDMI or picture settings; set the Switch 2’s input to 4K / On |
| Sony (BRAVIA) | HDMI signal format → Enhanced format | Under the external inputs settings; choose Enhanced for the Switch 2’s input |
| Hisense | HDMI format / HDMI 2.0 format → Enhanced | In the input or HDMI settings (location depends on the TV’s operating system) |
| Vizio | Full UHD Color | In the input settings; enable it for the input in use |
| TCL, Philips and others | An HDMI mode option labelled Enhanced, Optimal, HDMI 2.0/2.1 or 4K@60 | Usually under the input, source or HDMI settings |
Note: menu names and paths change between model years and between operating systems (Tizen, webOS, Google TV, VIDAA, Roku TV and so on), even within the same brand. Treat the table as a guide to what to search for, and confirm the exact path in your TV’s manual or the manufacturer’s support page for your model number.
Some TVs only enable their full feature set on certain HDMI ports, so the port you use matters too.
Are you plugged into a 4K-capable port?
Look at the labels next to the HDMI ports on the back of the TV, such as 4K/60, 4K@120, Game or eARC/ARC. On some models, not every port supports the same signals.
- Check for printed labels like “4K” or “Game” near the ports.
- Find the HDMI input section of the manual or the official spec sheet and identify which port numbers support 4K/60.
- If you are unsure, try HDMI 3 or HDMI 4 first; on many TVs the higher-numbered ports are the full-featured ones, though this varies by model.
If everything so far is correct and you still can’t get 4K, the cable or something between the dock and the TV becomes the most likely bottleneck.
Fixing bottlenecks from old HDMI cables and switches
If none of the above solved it, suspect the cable and any in-between devices. The fastest way to isolate them is to swap in a certified cable and connect the dock straight to the TV.
The trap with cheap “4K” cables
If your 4K picture is unstable or missing, replacing the cable with a certified one is the quickest shortcut. Cables with no clear specification, just “4K” printed on the listing, are a common source of trouble. The cable that came in the Switch 2 box is a good first test, since it was supplied for this console.
What to check when buying:
- An official HDMI certification label on the packaging (such as Premium High Speed or Ultra High Speed). These labels carry a QR code you can scan with the official HDMI certification app to confirm the cable is genuine.
- Keep it short, ideally 2 m (about 6.5 ft) or less. Longer runs tend to be less stable.
- If you plug and unplug often, pick a brand-name cable with solid connectors.
| Cable label | Rated bandwidth / intended use | For Switch 2 in 4K |
|---|---|---|
| High Speed | Mainly 1080p-era signals | Risky; may hold you back depending on your setup |
| Premium High Speed | About 18Gbps; built for stable 4K/60 | Good choice for 4K |
| Ultra High Speed | About 48Gbps; the most headroom | Best choice if you are unsure |
The more unsure you are about which cable to buy, the more likely you are to keep cycling through unlabelled ones. Testing once with a certified cable makes the cause far easier to pin down. In the US, UK and Australia, certified cables are easy to find at Amazon and major electronics retailers such as Best Buy, Currys or JB Hi-Fi; just check the label, not the listing title.
Going through an HDMI switch, AV receiver or soundbar
If you can’t get 4K, disconnect every in-between device and plug the Switch 2 dock directly into the TV. A single device in the chain can limit the whole signal path.
Common trouble spots:
- Older HDMI switches: even ones sold as “4K” may have strict limits or be unstable at 4K/60.
- Older AV receivers: 4K pass-through may work, but HDR and newer features may not.
- Soundbars: even with eARC support, the soundbar’s HDMI input can be the limiting factor.
How to isolate it:
- Remove the in-between devices and connect the dock directly to the TV.
- If 4K appears with a direct connection, the device you removed is the cause.
- If you need that device in your setup, replace it with one that supports what you need, and check its specs carefully.
If a direct connection gives you 4K, the switch itself was the bottleneck. To keep the same setup and make it stable, the quickest route is a switch that explicitly supports 4K/60 and HDR.
Recommended upgrades for a better Switch 2 setup
Once you have isolated the problem, the next step is usually one of two things: a certified cable or a dedicated 4K monitor. Here is how to decide.
Start with one certified HDMI cable
Before blaming “compatibility issues”, simply switching to a certified cable can make the signal stable. It is a small first investment, and it doubles as a diagnostic tool: if a certified Ultra High Speed cable doesn’t change anything, you can cross the cable off your list for good.
A 4K monitor solves the “shared TV” problem
The living-room TV is convenient, but its picture processing can add input lag, and you will often be competing with the rest of the household for it. A dedicated 4K monitor can make Switch 2 noticeably more comfortable to play. If you go this route, check that it accepts 4K at 60Hz over HDMI, since some monitors only reach their full spec over DisplayPort.
FAQ
My TV is 4K, but the Switch 2 stays at 1080p. Why?
Check these in order: the console is docked in TV mode, the game supports 4K, and the TV’s HDMI input is set to its enhanced (high-bandwidth) mode. If there is a switch, receiver or soundbar in between, connecting directly to the TV is the fastest way to isolate the issue.
The screen goes black for a moment when I select 4K. Is something broken?
Usually not. A brief blackout is normally just the TV switching signal modes. If the picture doesn’t come back, or the blackouts keep happening, review the cable, any in-between devices and the TV’s HDMI input mode.
4K doesn’t appear in the resolution options (greyed out or missing). What now?
In most cases the TV isn’t being recognized as a 4K input; the console is rarely at fault. Set the TV’s HDMI input to its enhanced mode and, if you have any in-between devices, remove them and connect directly. If 4K still doesn’t appear, unplug the dock’s power, unplug the HDMI cable, wait 30 seconds and reconnect.
Summary: requirements, TV settings and connections decide whether you get 4K
- Requirements: TV mode (docked), a game that supports 4K, and 4K capped at 60fps.
- TV side: switch the HDMI input to its enhanced (high-bandwidth) mode and use a 4K/60-capable port.
- Connections: isolate in-between devices with a direct connection and stabilize the link with a certified cable.
If you still get no 4K picture, plug a different 4K device (a 4K streaming stick or Blu-ray player, for example) into the same HDMI port. If that device can’t get 4K either, the problem is the port or the TV setting, not the Switch 2.

コメント