


Coming back to FFXI on Beastmaster and wondering, “What gear am I actually supposed to use now?”
That is where a lot of returning players get stuck. You open a wiki, run into endgame best-in-slot sets immediately, see Nyame paths and augment grinds, and your motivation dies on the spot.
My answer is much simpler: do not chase every “best” piece first.
For a returning solo BST, you get stronger faster by building five practical gear sets based on what you are trying to do:
- master survival
- master TP / melee
- master weapon skills
- pet physical Ready
- pet magic Ready
That split matters because Beastmaster is not one stat profile. Master melee, staying alive, WS burst, pet physical damage, and pet magic damage all want different priorities.
This guide is written from a returning solo player perspective, not from a “perfect spreadsheet BiS” perspective. Treat it as a practical roadmap you can actually finish.
- TL;DR
- How to Use This Guide: Beastmaster Only Needs 5 Sets First
- The Common Returning-Player Mistake
- Meri-jii Solo Difficulty Scale
- Master-Side Sets: What to Build First
- Pet Physical Set: Hit First, Damage Second
- Pet Magic Set: Main MAB Set + Small Magic Accuracy Switch
- Roadmap for Returning Solo Beastmasters
- Trust Setup Also Changes How Good Your Gear Feels
- The Gear You Wear Is Not the Only Gear That Matters
- Final Thoughts
TL;DR

- If you keep dying to mechanics or status effects, build Malignance first.
- For everyday TP gear, Meghanada +2 is still a very realistic foundation.
- For WS swaps, Nyame is the big upgrade, but it is not your first priority.
- For pet physical sets, accuracy comes before damage.
- For pet magic sets, use one main MAB set plus a small magic accuracy swap.
- Returning solo BST gets stronger fastest by building in this order: survival → baseline gear → one pet route → luxury upgrades.
How to Use This Guide: Beastmaster Only Needs 5 Sets First

If you try to make one “everything” set, you usually end up with a character that does everything badly.
I made that mistake myself after returning. I threw together a “looks strong enough” hybrid set, and the result was exactly what you would expect: the master was not tanky enough, the damage was unimpressive, and the pet felt half-finished.
Once I split BST into five clear jobs, everything got easier. My solo win rate improved immediately because I stopped dying to avoidable mistakes.
| Set | Main Role | When You Use It | Priority for Solo Returners |
|---|---|---|---|
| Survival | Stay alive | Unknown fights, dangerous TP moves, status-heavy enemies | Highest |
| TP / Melee | Steady master damage | Farming, Job Points, Master Levels, everyday combat | High |
| WS | Burst damage | Only when you fire the weapon skill | Medium |
| Pet Physical | Ready physical damage | Targets your pet can hit reliably | High |
| Pet Magic | Magic Ready / burst | Targets with awkward physical mitigation or AoE farming setups | High |
The key idea: do not try to finish everything at once. Finish one layer at a time.
The Common Returning-Player Mistake
The classic trap is this: you look at endgame sets first, chase hard-to-get pieces too early, and stall out halfway.
That is why this guide uses a simple solo returner difficulty scale. It helps you separate “realistic now” from “nice later.”
- D–C: realistic and high-value
- B: reachable with effort
- A: rough for solo-focused returners
- S: aspirational / high-end optimization
Meri-jii Solo Difficulty Scale
I rate gear by three things:
- how many people you realistically need
- how heavy the grind is
- how many prerequisites you need before the farm even starts
| Rank | What It Means for Returning Solo Players | Practical Feel |
|---|---|---|
| D | Stable solo progress, minimal setup needed | Start here immediately |
| C | Realistic solo or pickup-group target | Often the best early upgrades |
| B | Heavier grind or heavier prerequisites | Doable, but motivation starts to get tested |
| A | Usually wants organized runs or strong understanding | Can feel miserable if you force it too early |
| S | High-end finishing layer | Aspiration is fine; blind chasing is not |
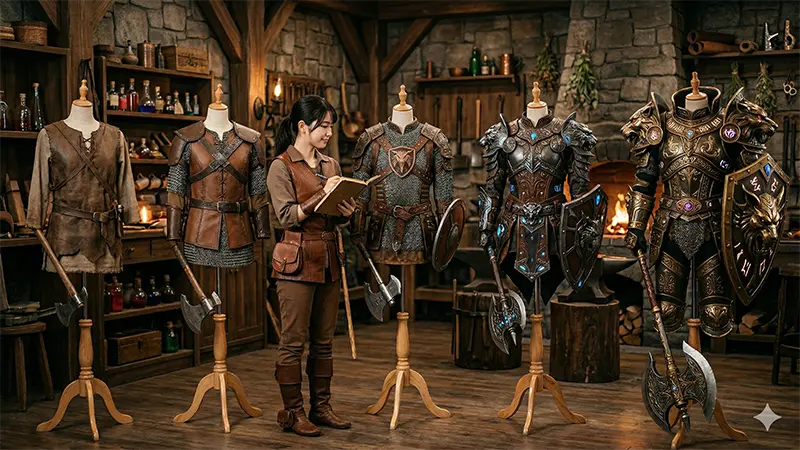
Master-Side Sets: What to Build First

For the master side, think in three separate modes:
- survival
- TP / melee
- weapon skills
If you only remember one thing from this section, remember this: surviving is part of your DPS.
1) Survival Set: Not Dying Is the Biggest Damage Increase
If enemy TP moves or status effects keep dropping you, a survival swap is not optional. It is your most important upgrade.
Solo Beastmaster loses fights the moment the player gets locked down or dies. That is why Malignance is such a strong core.
It gives you more than DT. You also get accuracy and strong magic evasion, which matters a lot in real solo play.
| Slot | Recommended Piece | Difficulty | Why It Matters |
|---|---|---|---|
| Head | Malignance Chapeau | C | DT plus magic evasion; fewer accidental deaths |
| Body | Malignance Tabard | C | The piece that makes almost every situation feel safer |
| Hands | Malignance Gloves | C | Completing the set steadily improves real survivability |
| Legs | Malignance Tights | C | Once you have them, it is hard to go back |
| Feet | Malignance Boots | C | Gets more valuable the uglier the fight becomes |
Practical note: if you are wiping to paralysis, silence, amnesia, or random TP spikes, stop thinking only about damage. Being able to keep playing is damage.
2) TP / Melee Set: Accuracy + Store TP + Enough Toughness
Your everyday melee set should focus on accuracy, Store TP, and a minimum level of durability.
That is because solo BST spends a lot of time in the simple loop of melee → build TP → WS. Smooth tempo matters more than chasing flashy numbers too early.
As a realistic foundation, Meghanada +2 still does a lot of work for returning players.
| Slot | Recommended Piece | Difficulty | Why It Matters |
|---|---|---|---|
| Head | Meghanada Visor +2 | C | Good accuracy and fast everyday value |
| Body | Meghanada Cuirie +2 | C | One of the most noticeable early upgrades |
| Hands | Meghanada Gloves +2 | C | Helpful for Store TP and smoother WS cycles |
| Legs | Meghanada Chausses +2 | C | Comfortable baseline melee piece |
| Feet | Meghanada Jambeaux +2 | C | Solid “wear this until better” option |
Important: Meghanada is a strong baseline, not a universal answer. If the fight is rough, mixing in Malignance often gives better real results than going full offensive.
3) WS Set: Efficient Upgrades, but Not First Priority
WS gear is efficient because you only swap into it for the instant you fire the weapon skill. That makes it a strong upgrade layer once your survival and baseline play are already stable.
For modern FFXI BST, Nyame is the obvious dream set here.
Path B is the “make the weapon skill number bigger” route. Path D is the more BST-friendly route if you also care about survivability and pet-side value.
| Slot | Recommended Piece | Difficulty | Solo Perspective |
|---|---|---|---|
| Head | Nyame Helm (Path B or D) | B–A | Path B for WS focus, Path D for broader BST value |
| Body | Nyame Mail (Path B or D) | B–A | Core WS piece with useful durability |
| Hands | Nyame Gauntlets (Path B or D) | B–A | Strong for WS-focused play |
| Legs | Nyame Flanchard (Path B or D) | B–A | Nice balance of damage and safety |
| Feet | Nyame Sollerets (Path B or D) | B–A | Path D can also support pet-oriented use |
Simple rule:
- Choose Path D if your goal is safer, more flexible solo BST.
- Choose Path B if your goal is pushing WS numbers first.
Yes, owning duplicate Nyame pieces on different paths is strong. No, that is not the first thing a returning solo player should grind.
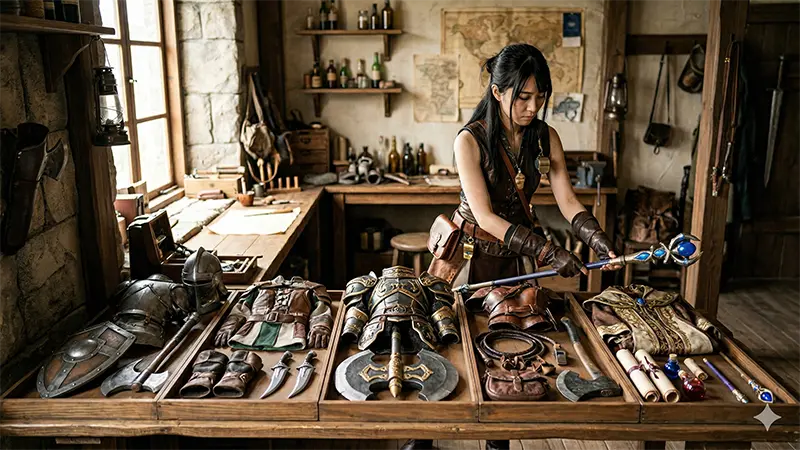
Pet Physical Set: Hit First, Damage Second
If you remember only one thing about pet physical gearing, make it this:
If your pet misses, your Ready damage may as well be zero.
That is why pet physical gearing starts with accuracy, not greed. Attack, multi-attack, and damage layering come after you can actually land hits consistently.
How to Think About Each Slot
- Accuracy slots: build the baseline first
- Ready reduction slots: take them when available, but do not break your baseline for them
- Damage slots: add these after the pet is already connecting reliably
Practical Starter Set: Tali’ah +2
For a realistic entry point, Tali’ah +2 is very easy to recommend. It is approachable, useful, and works as a base for both physical and magic pet play.
| Slot | Recommended Piece | Difficulty | Why It Matters |
|---|---|---|---|
| Head | Tali’ah Turban +2 | C | Very solid starting accuracy piece |
| Body | Tali’ah Manteel +2 | C | Excellent base because it helps both pet accuracy and pet magic accuracy |
| Hands | Tali’ah Gages +2 | C | Comfortable everyday pet accuracy support |
| Legs | Tali’ah Seraweels +2 | C | More pet accuracy with decent overall usability |
| Feet | Any pet-accuracy option you already own | C–B | This slot can be a temporary compromise |
Once your pet starts connecting consistently, that is when BST starts feeling like a different job.
Pet Magic Set: Main MAB Set + Small Magic Accuracy Switch
For magic Ready builds, trying to force one single “perfect” set usually creates more pain than value.
The practical solution is simple:
- Main set: focus on pet magic attack bonus
- Magic accuracy switch: swap only a few pieces when you notice resists
That gives you much better tempo than permanently overloading on magic accuracy.
Main Magic Set: Valorous Route
The realistic long-term path here is Valorous augments through Oseem, aiming for pet magic attack / pet magic accuracy rolls.
It is one of the better “I can still progress this solo” routes for returning BST.
It is also a soul-draining stone grind. Keep your expectations realistic.
| Slot | Recommended Piece | Difficulty | Why It Matters |
|---|---|---|---|
| Head | Valorous Mask (Pet MAB / M.Acc augment) | C–B | Great when the augment lands well |
| Body | Valorous Mail (Pet MAB / M.Acc augment) | C–B | Strong core for magic Ready damage |
| Hands | Valorous Mitts (Pet MAB / M.Acc augment) | C–B | One of the best payoff slots if you hit the augment |
| Legs | Valorous Hose (Pet MAB / M.Acc augment) | C–B | High upside, but classic augment grind pain |
| Feet | Valorous Greaves or another workable pet-magic option | C–B | Use what your augment luck gives you |
Magic Accuracy Switch: Only Swap When You Need It
You do not want to tank your damage by wearing maximum magic accuracy all the time.
Instead, keep a small switch package ready for resist-heavy fights.
- Nukumi Earring for Summoned Pet: Lv.+1
- Nyame Sollerets (Path D) or another strong pet-side option
- Tali’ah +2 or a Valorous piece with stronger pet magic accuracy
That is usually enough to stabilize resist issues without wrecking your normal damage tempo.
Roadmap for Returning Solo Beastmasters

The fastest way to get stronger is not “chase endgame first.” It is build your foundation in the order that wins fights.
| Step | Main Goal | Solo Difficulty |
|---|---|---|
| 1 | Stop accidental deaths with a survival set | D |
| 2 | Build a usable baseline through practical content like Ambuscade | C |
| 3 | Finish one pet route first: physical or magic | C–B |
| 4 | Add luxury upgrades like Nyame | B–A |
| 5 | Improve comfort and controls to reduce mistakes | D |
If you are the kind of returning player who opens a wiki, sees “Nyame,” “final set,” or “Rank 30,” and immediately closes the tab, good news: that does not mean BST is weak. It usually just means your upgrade order is wrong.
Trust Setup Also Changes How Good Your Gear Feels

Your BST gear does not exist in a vacuum. The right Trust lineup dramatically changes solo stability, especially healer and support choices.
- FFXI Best Trusts (2026): The Complete Healer & Support Comparison
- FFXI Support Trust Behavior Guide: Buff Triggers, Debuffs, and Best Uses
- FFXI Unity Points Guide (2026): Best Uses for Unity Accolades
The Gear You Wear Is Not the Only Gear That Matters

Beastmaster gets dramatically easier when your input setup gets cleaner.
This is a busy job. Missed inputs and awkward key travel turn into lower DPS, slower pet actions, and avoidable deaths.
If you want the highest value comfort upgrade, do this first:
- add a multi-button mouse or a left-hand keypad
- put pet actions on the same fingers every time
- lock your most-used commands into positions you can hit without thinking
Recommended Comfort / Control Upgrades
- Low-fatigue keyboard setup for long FFXI sessions (JP review)
- Why a multi-button mouse helps in FFXI (JP review)
- Razer Tartarus setup ideas for FFXI (JP review)
- Why an XL mouse pad matters more than it sounds (JP review)
Affiliate disclosure: some gear links on this site may include affiliate tracking. Prices and availability can change.
Your “Second Gear Set”: Your Desk
FFXI includes a lot of waiting: farming, NM windows, queue time, and long sessions. A better chair and rest setup do more for long-term comfort than people expect.
I personally got a lot of value out of an AKRacing setup plus a separate ottoman for breaks:
Final Thoughts

Returning Beastmaster gets much easier when you stop thinking in terms of “one ultimate set” and start thinking in terms of five jobs your gear needs to do.
- Survival: stop accidental deaths first
- TP / Melee: build a stable everyday set
- WS: add a swap layer when the baseline is ready
- Pet Physical: accuracy before greed
- Pet Magic: main MAB set plus a small magic accuracy switch
If you build in that order, BST stops feeling confusing and starts feeling strong again.
Recommended next move: finish your survival layer, finish one baseline set, then choose either pet physical or pet magic as your first focused route. Do not split your resources too early.
Maintenance note: FFXI gear priorities shift over time. Re-check current sources, augment routes, and your own available content access before committing to heavy grinds.

コメント