


TL;DR: If you want the safest and easiest way to dump a Sega Saturn BIOS from hardware you personally own, a modern cartridge-based method is the best place to start. For most people, SAROO or a Saturn Gamer’s Cartridge is far more practical than physically removing the BIOS ROM chip. The advanced ROM-reader route exists, but it is only for experienced hardware users and carries a real risk of permanently damaging the console.
Important: This guide is written from a personal backup and preservation perspective. Dumping a BIOS from a console you own for your own archival use is very different from downloading BIOS files from the internet or redistributing them. Do not upload, share, sell, or trade dumped BIOS files. Laws vary by country, so check your local rules before proceeding.
- Why dump your own Sega Saturn BIOS?
- The best Sega Saturn BIOS dump methods, compared
- Method 1: Using a cartridge (the easiest and safest option)
- Method 2: Directly reading the BIOS ROM chip
- Method 3: Other niche or historical options
- Which method should you actually choose?
- How to verify that your BIOS dump is good
- Final thoughts: preservation first, piracy never
Why dump your own Sega Saturn BIOS?
For Sega Saturn emulation, the BIOS is the low-level firmware that helps the system boot and behave like real hardware. Some emulators can start without it, but using a real BIOS from your own console usually improves boot behavior, compatibility, and overall accuracy.
That makes BIOS dumping especially relevant for long-term preservation. If your original Saturn eventually fails, having a verified backup from your own machine can help you preserve how that hardware actually behaved.
The best Sega Saturn BIOS dump methods, compared
There is no single “best” method for every user. The right choice depends on your skill level, the tools you already own, and how much risk you are willing to take.
| Method | Difficulty | Risk to Console | What You Need | Best For |
|---|---|---|---|---|
| SAROO | Low | Low | SAROO cart, microSD card, Saturn console, your own Saturn game disc/image | Most users who want a modern, flexible solution |
| Saturn Gamer’s Cartridge | Low | Low | Cartridge, SD card, Saturn console | Users who want the simplest BIOS-only workflow |
| Direct ROM Readout | High | High | Soldering tools, ROM programmer, adapters, technical skill | Advanced hardware tinkerers and preservation specialists |
| ODE-Based Method | Low | Low | An already-installed ODE such as MODE or Satiator | People who already modded their Saturn with an ODE |
| Legacy PAR/Link Cable Method | Not practical today | Low | Old specialty hardware and a legacy PC setup | Historical interest only |
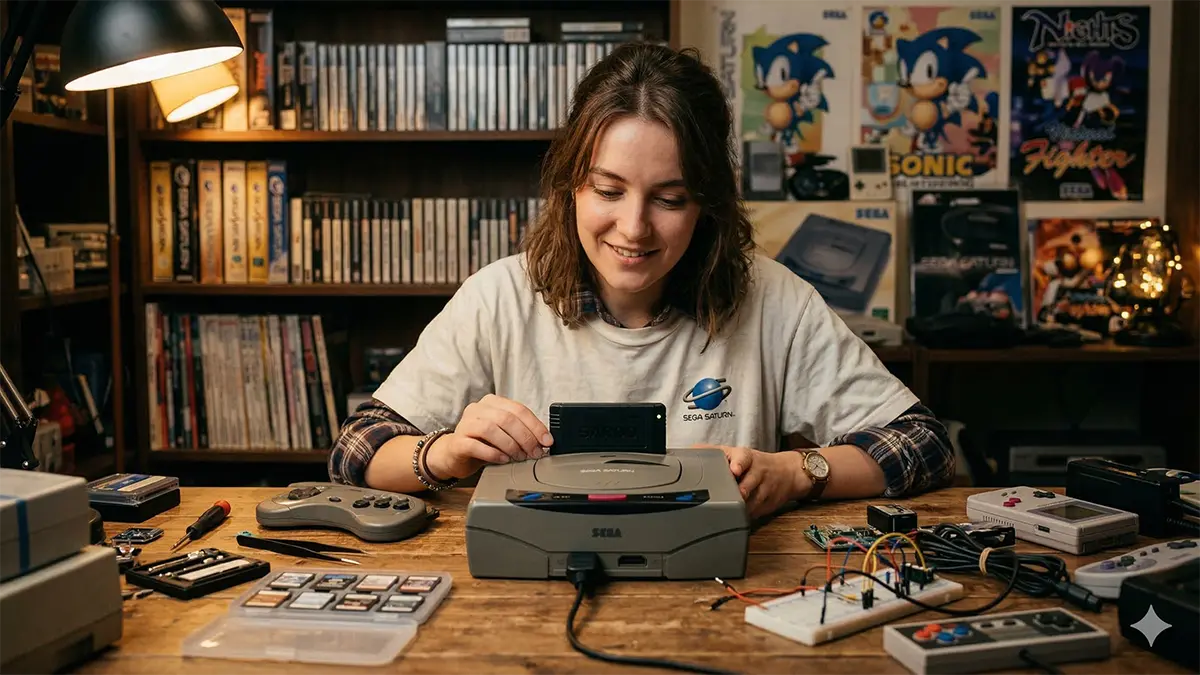
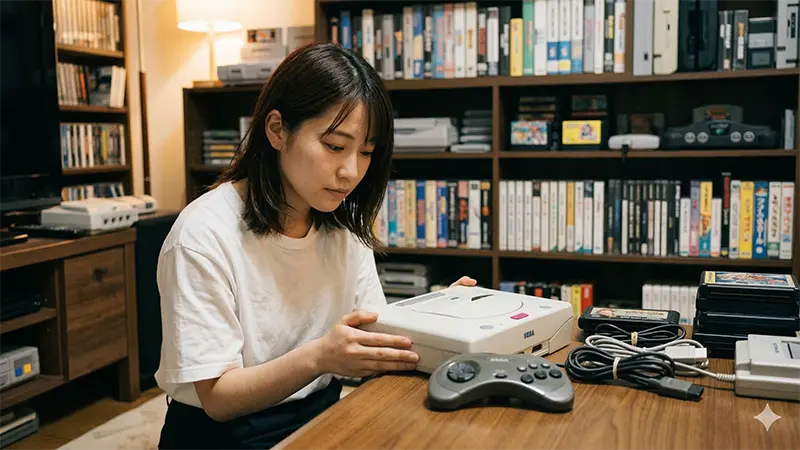
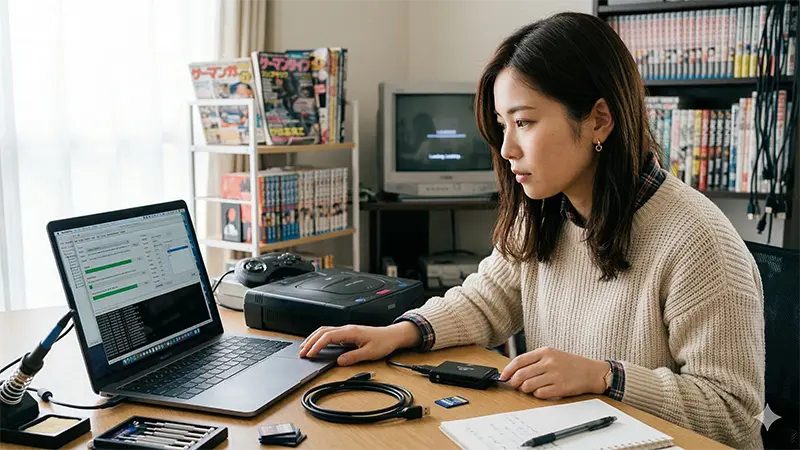
Method 1: Using a cartridge (the easiest and safest option)
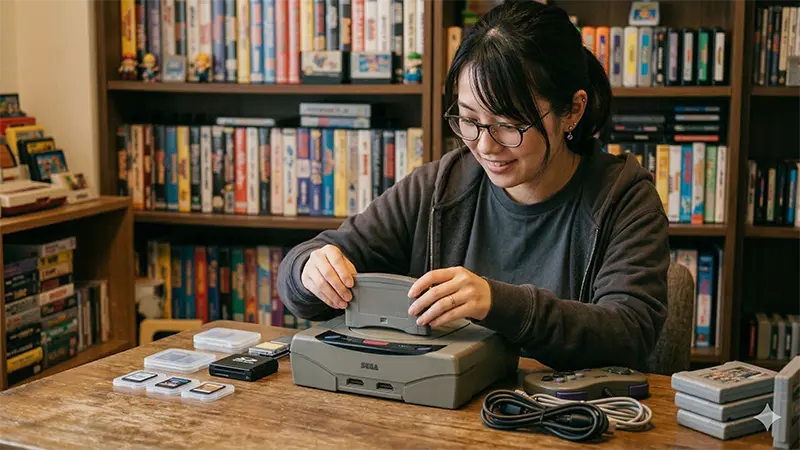
For most readers, this is the right answer. Cartridge-based dumping avoids disassembly, avoids soldering, and dramatically reduces the chance of damaging a working Saturn.
Option A: Dumping the BIOS with SAROO
SAROO is primarily known as a multifunction Saturn loader, but one of its useful side features is BIOS dumping. That makes it attractive if you want one device that can do more than just one job.
What you need
- A SAROO cartridge
- A Sega Saturn console you personally own
- A microSD card formatted as FAT32
- A PC for preparing the card
- Your own Saturn game disc or image used in the workflow
How the workflow works
- Prepare the microSD card and copy the SAROO firmware files.
- Create the required folders on the card, including the BIOS folder.
- Add the BIOS-dump configuration lines to the SAROO config file.
- Place your own Saturn game image on the card.
- Boot the game through SAROO; when configured correctly, the BIOS is written to the SD card automatically.
- After the dump is complete, disable the dump-related config lines so the process does not run every time.
Why many users choose SAROO
- No console disassembly
- No soldering
- Low barrier to entry
- Useful beyond BIOS dumping
Things to keep in mind
SAROO is convenient, but it is still worth double-checking your configuration before booting. Once the dump succeeds, remember to remove or comment out the dump setting so you do not repeat the operation by accident.
Option B: Saturn Gamer’s Cartridge
If your goal is only to dump the BIOS and back up data with as little friction as possible, Saturn Gamer’s Cartridge may be even simpler than SAROO. Its appeal is that it focuses on utility functions rather than trying to be an all-in-one loader.
What you need
- A Saturn Gamer’s Cartridge
- A Sega Saturn console you personally own
- An SD card formatted as FAT32
- A PC to confirm the dumped file afterward
Basic workflow
- Insert the SD card into the cartridge.
- Connect the cartridge to the Saturn expansion slot.
- Power on the console and open the utility menu.
- Navigate to the dump/system menu and run the BIOS dump command.
- Shut down, remove the SD card, and confirm that the BIOS file was saved.
Why this option stands out
- No game image preparation required
- Very short menu-driven process
- Ideal for users who only care about preservation and backup
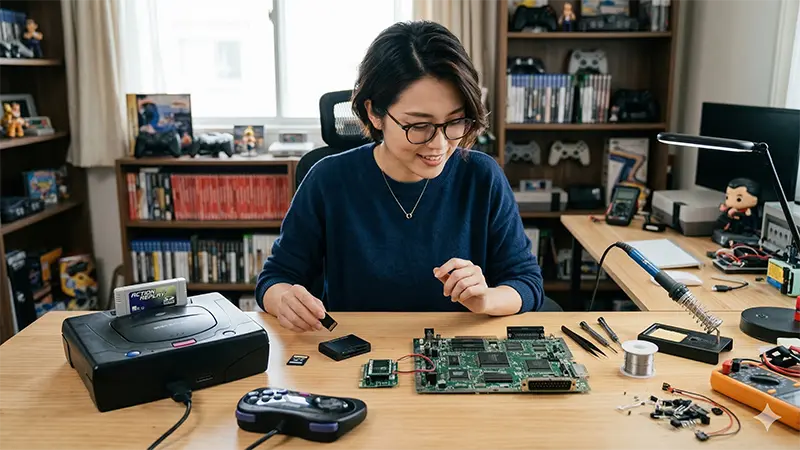
Method 2: Directly reading the BIOS ROM chip
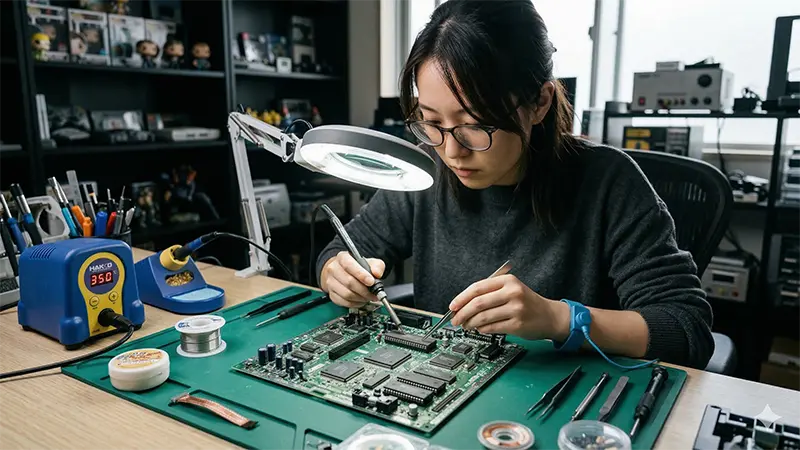
This is the advanced path. Instead of using a cartridge, you physically remove the BIOS ROM chip from the Saturn mainboard and read it with a ROM programmer. Yes, it can be done. No, it is not the right choice for most people.
Who should consider this? Only readers with real electronics experience, proper tools, and a willingness to accept the possibility of ruining the motherboard.
Why this method is difficult
- Different Saturn revisions use different ROM packaging and mounting conditions.
- Some boards are far less friendly than others.
- You may need specialty adapters in addition to a ROM programmer.
- The resulting data may require byte-order conversion before it behaves correctly in modern environments.
Typical equipment involved
- Disassembly tools
- Precision soldering / desoldering equipment
- A ROM programmer such as an XGECU-class device
- Appropriate chip adapters
- A PC for reading and processing the dump
Model differences matter
Saturn revisions such as the HST-3200, HST-3210, and HST-3220 can differ in BIOS ROM packaging and handling difficulty. Some early units are friendlier to preservation work than others. That is another reason why a cartridge-based approach is the smarter starting point unless you specifically need a hardware-level extraction.
Bottom line on the direct ROM route
This is best treated as a specialist preservation technique, not a beginner-friendly how-to. If you are reading this mainly because you want to use your Saturn BIOS with an emulator, the cartridge methods are safer, faster, and more realistic.
Method 3: Other niche or historical options
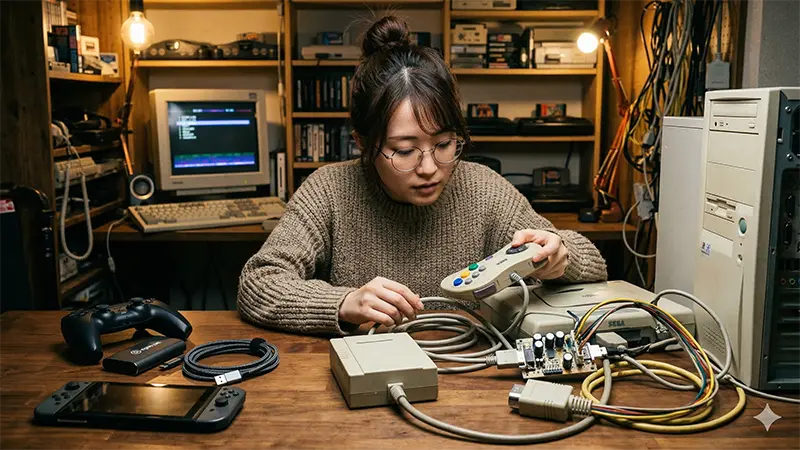
ODE users: a convenient niche path
If your Saturn already has an ODE installed, such as MODE or Satiator, there are software-based workflows that can dump the BIOS without the level of risk associated with direct chip removal. This is a niche scenario, but for people who already run ODE hardware, it can be one of the easiest paths available.
The old Pro Action Replay + link hardware route
Older guides sometimes mention a Pro Action Replay 2 setup combined with legacy PC interface hardware. In practice, this route is now mostly of historical interest. It depends on outdated PC standards and is no longer realistic for the average user in 2026.
Which method should you actually choose?
- Choose SAROO if you want a modern, low-risk method and do not mind a little setup.
- Choose Saturn Gamer’s Cartridge if you want the most straightforward BIOS-dump-focused workflow.
- Choose an ODE-based method only if your console is already set up that way.
- Choose direct ROM readout only if you already have advanced electronics experience and a clear preservation reason.
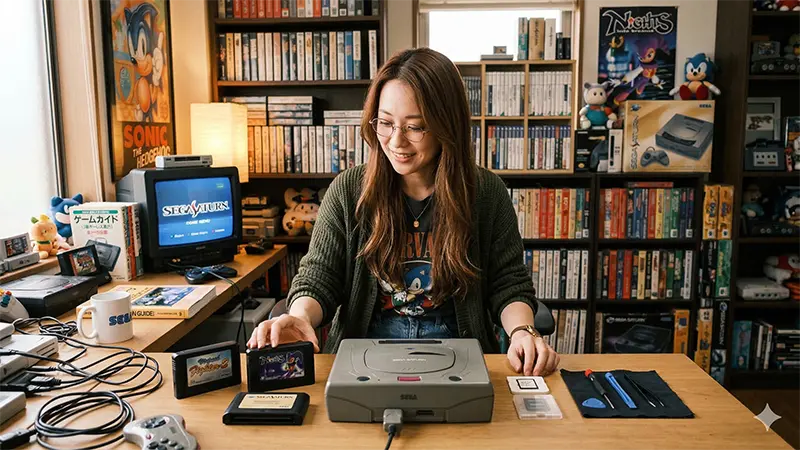
How to verify that your BIOS dump is good
Dumping the file is only half the job. You also want to confirm that the result is complete and uncorrupted.
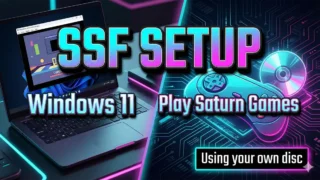
1) Test it in an emulator
The fastest sanity check is to point an emulator such as SSF or RetroArch to the dumped BIOS file and see whether it boots correctly. If the Saturn startup sequence appears normally and the emulator behaves as expected, that is a strong sign the dump is usable.
2) Compare checksums
For a more technical and reliable check, calculate the file hash and compare it to known values. For example:
- Japanese BIOS Ver. 1.01 (
sega_101.bin)- MD5:
85ec9ca47d8f6807718151cbcca8b964 - SHA1:
df94c5b4d47eb3cc404d88b33a8fda237eaf4720
- MD5:
- Japanese BIOS Ver. 1.00 (
sega_100.bin)- MD5:
af5828fdff51384f99b3c4926be27762 - SHA1:
2b8cb4f87580683eb4d760e4ed210813d667f0a2
- MD5:
If your dump matches a known-good checksum exactly, that is the clearest sign that the backup was created correctly.
Final thoughts: preservation first, piracy never

Modern cartridge tools have made Sega Saturn BIOS dumping far more accessible than it used to be. That is good news for preservation. Aging consoles fail, optical drives wear out, and support ecosystems disappear. A verified BIOS dump from hardware you personally own can help keep that platform usable for archival and compatibility purposes.
But the preservation angle only holds up when you handle the files responsibly. Keep the BIOS tied to your own hardware, keep it for your own use, and do not distribute it. Downloading BIOS files you do not own, or sharing files you dumped yourself, crosses the line from preservation into infringement.
If your goal is to preserve your own Sega Saturn setup the right way, start with the safest method available to you, verify the dump, and document what you did. That approach is better for your hardware, better for long-term archiving, and better for the retro community as a whole.


コメント